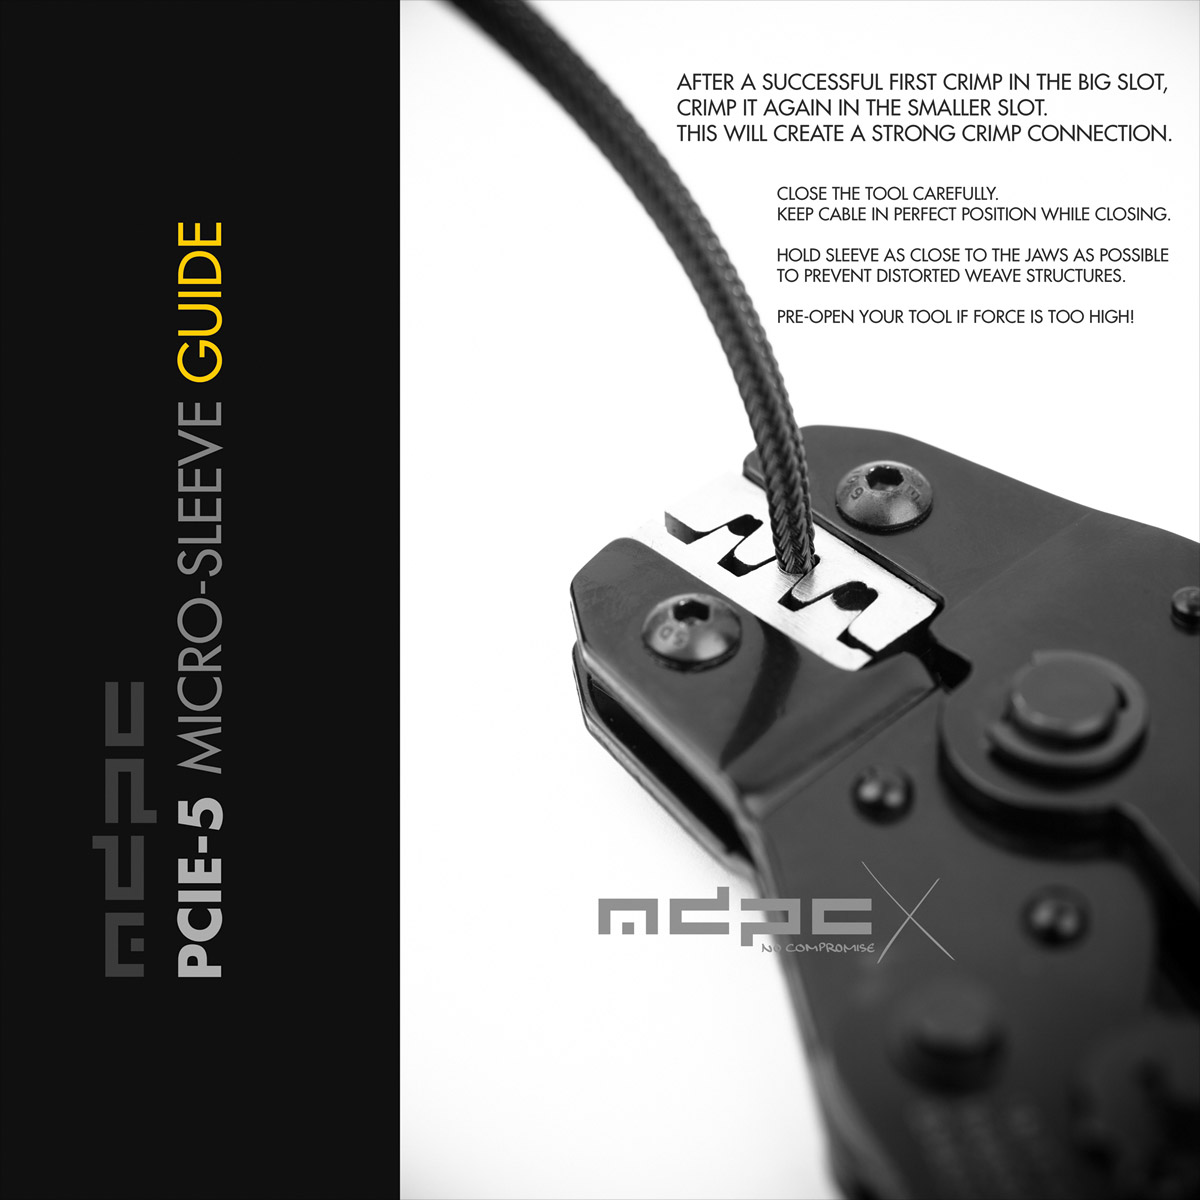
Squeeze the rear wings onto the sleeving. The crimp terminal must hold itself in place for the next steps.Insert the cable assembly carefully and perfectly oriented into the biggest slot of the crimping tool (15 to 16-AWG slot). Position it carefully inside the top jaws, as shown.Close the tool very carefully. Keep the cable in perfect position while closing. Hold the sleeve as close to the jaws as possible to prevent getting distorted filaments within the weave structure of the sleeve.Ideal results need practice and absolute precision. Repeat previous steps until you master it.After a successful first crimp in the big slot, crimp it a second time in the smaller slot (17 to 18-AWG). Close the tool very carefully. Keep the cable in perfect position while closing. Hold the sleeve as close to the jaws as possible to prevent getting distorted filaments within the weave structure of the sleeve. IMPORTANT: Pre-open the tool if you feel that the closing force becomes too high / damage to the crimp terminal etc. occurs.As mentioned before: Ideal results need practice and absolute precision. Repeat previous steps until you master it. If one of the rear wings breaks off in the crimping process, it is acceptable, because an additional stability will be provided by the upcoming melting process and you can continue with this guide.